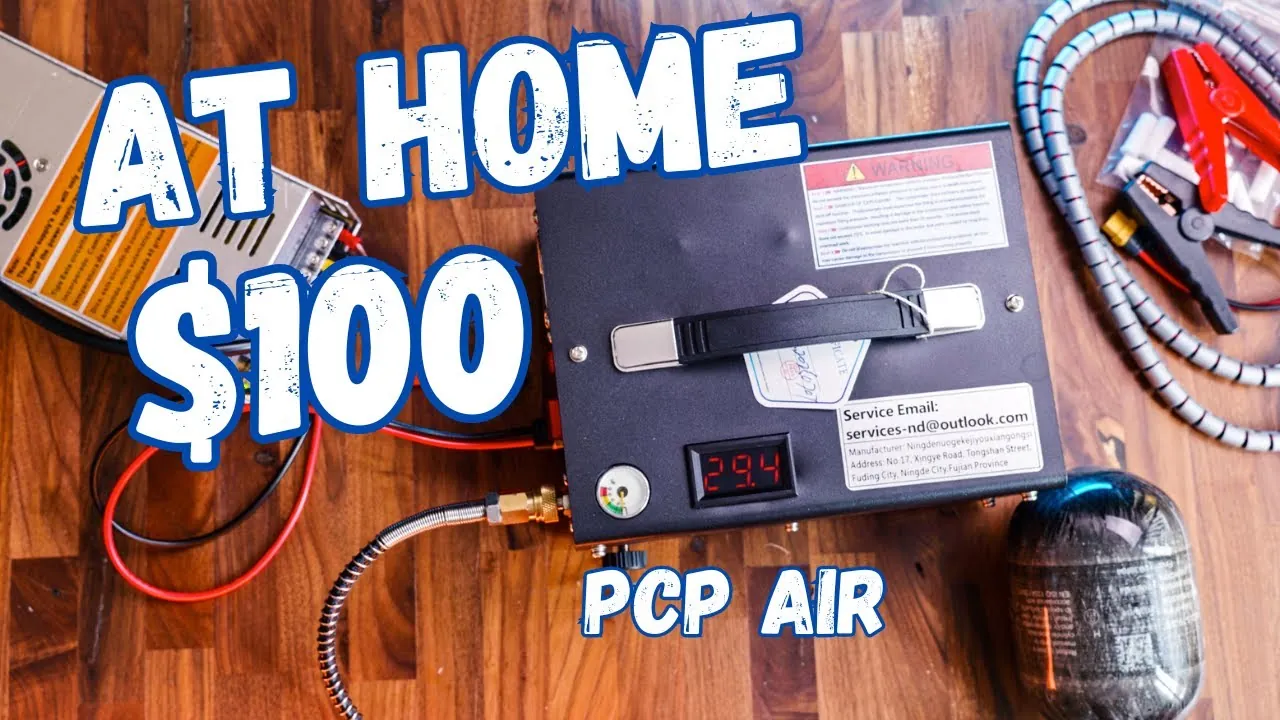
Quick verdict
- Budget PCP compressors reach 300 bar (4500 psi) and fill airsoft HPA, paintball, PCP and small scuba bottles at home.
- Always start the cooling fan first and close the bleed valve before switching the compressor on.
- Mine reached 100 bar (a third of the bottle) quickly; stop and cool down if the temperature goes above 50–55 °C.
- Replace the white filters after about 10 fills and bleed the pressure before disconnecting the hose.
Watch the video
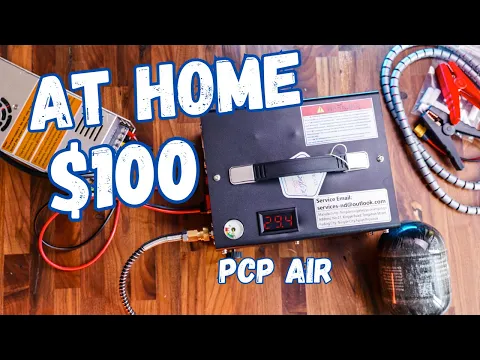
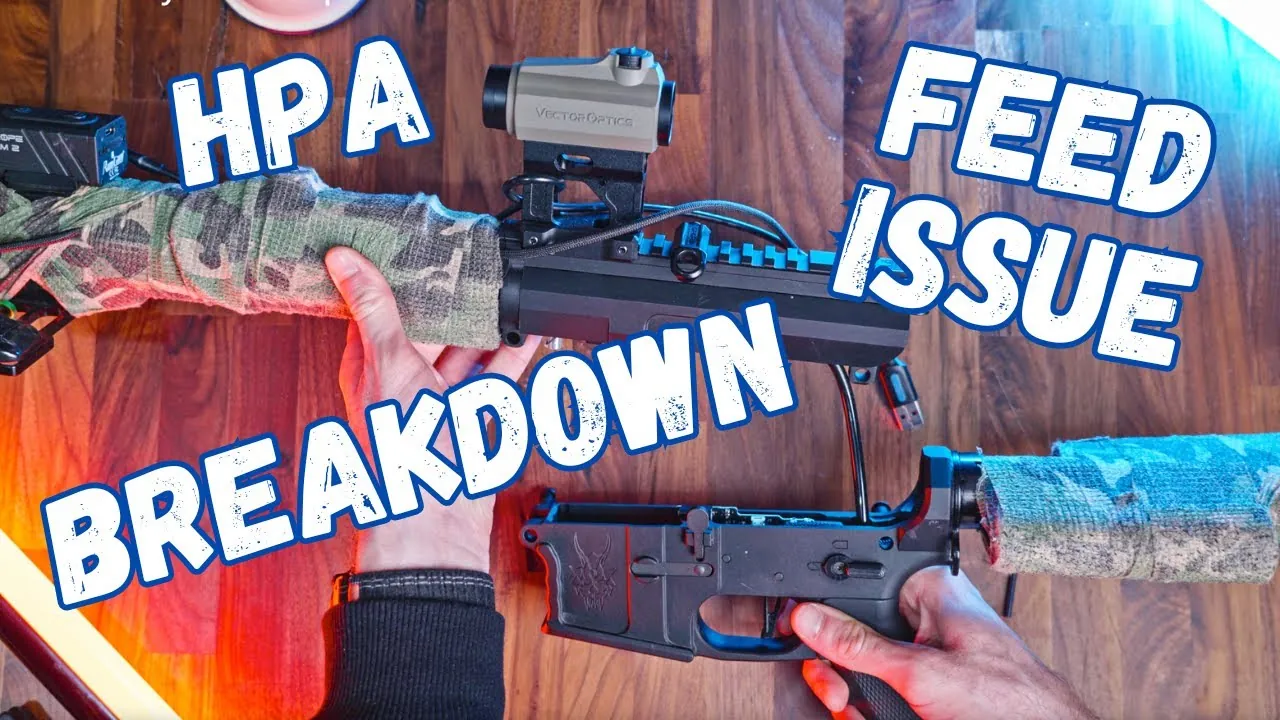
Running HPA means you need high-pressure air. Instead of driving to a dive shop for every fill, I bought a budget PCP compressor that goes up to 300 bar (4500 psi). Here is what comes in the box, how to set it up and how my first fill went.
Compressors like this have become very affordable, and they are useful for more than airsoft: you can fill PCP air rifles, paintball tanks, airsoft HPA bottles and even small scuba cylinders at home. Everything below applies specifically to this model, which you can find through the links on this page.
What’s in the box
- A detailed instruction manual
- Plenty of accessories – most importantly the white filters, which should be replaced after about 10 fills
- Power cables for running it from a car battery (keep the car engine running while you use it)
- An external power adapter (I use the European plug)
- The high-pressure fill hose that connects to your bottle
Controls and safety features
| Max pressure | 300 bar / 4500 psi (30 MPa) |
|---|---|
| Cooling | Air intake + fan with its own switch |
| Main switch | Large switch to start the compressor |
| Safety | Pressure relief valve that opens if pressure gets too high |
| Bleed valve | On the side – releases pressure before you disconnect |
| Monitoring | Pressure gauge + digital thermometer |
| Power | Mains adapter or 12 V car battery |
How to fill an HPA tank, step by step
- Connect the power adapter to the compressor.
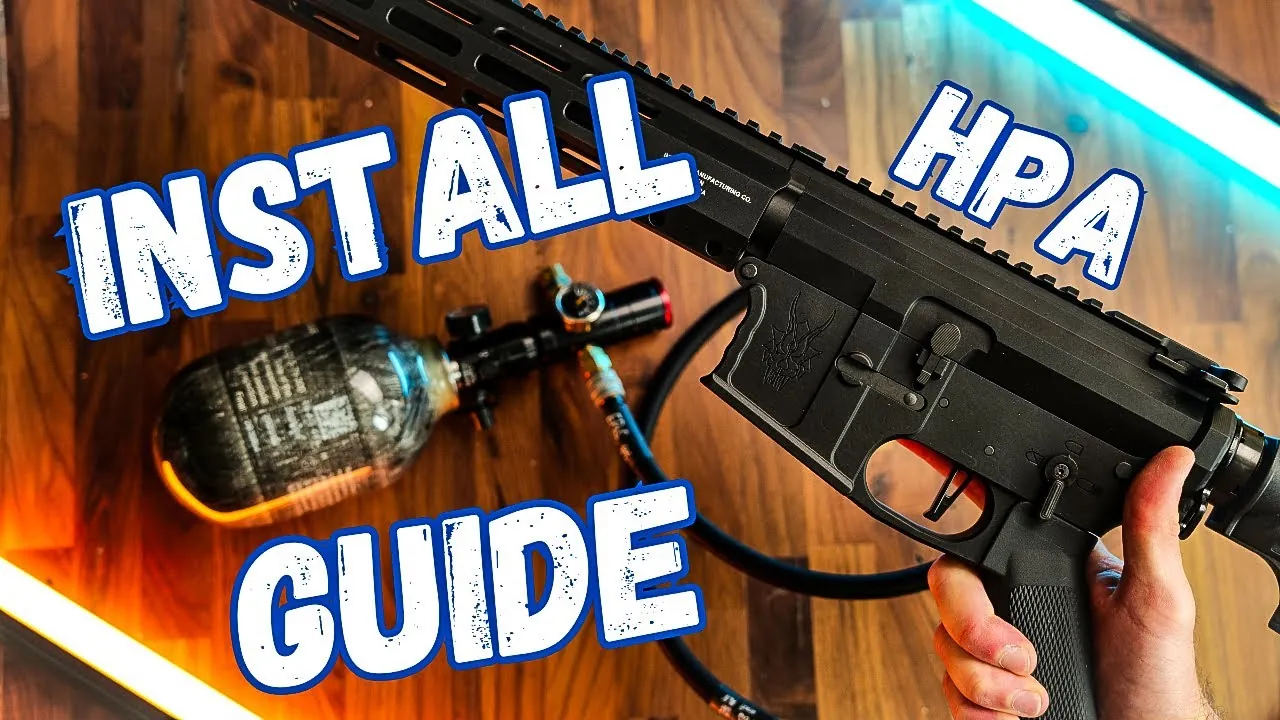
- Take your bottle. I fill through my standard tank regulator, which outputs 800 psi to the rifle (see my HPA setup guide).
- Fit the hose to the compressor and touch the other end to the bottle’s fill port. Use the hose with the filter.
- Plug the power supply into the socket – the display shows the current temperature.
- Always start the fan first.
- Close the bleed valve so no air escapes.
- Switch the compressor on and watch the pressure gauge.
First fill: noise, speed and temperature
It is quite noisy while running and it shakes on the floor – it would be much more stable on a solid surface. In my test it filled the bottle to 100 bar, about a third of its capacity, in roughly 6–7 minutes. The temperature rose to around 40 °C. If it climbs above 50–55 °C, stop the compressor, let it cool down and then continue.
Shutting down safely
- When the bottle is full, switch the compressor off but leave the fan running to cool it.
- Let it cool a bit more if needed.
- Open the bleed valve to release the pressure in the hose.
- Only then detach the hose from the bottle.
Verdict
- Pros: affordable, compact and portable; runs from mains or a car battery; built-in thermometer and relief valve; spare filters in the box.
- Cons: noisy and shakes while running; you must manage the temperature yourself; filters need replacing every ~10 fills.
I was a little nervous about using such a high-pressure compressor at first, but with these few simple steps anyone can manage it. If you run HPA, having your own fill station at home is a game changer.
Gear in this article
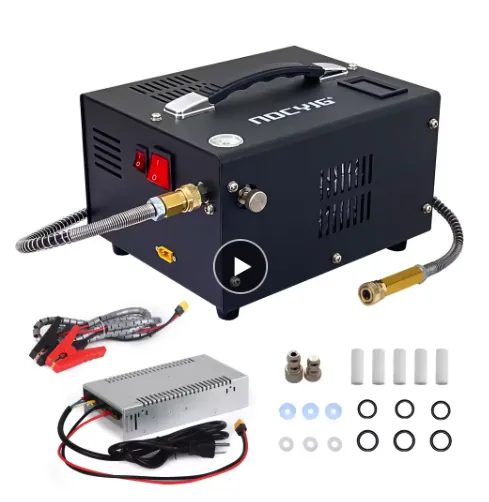
PCP / HPA Air Compressor
Fills my 300 bar HPA tank at home, so no more trips to a dive shop. Start the fan first, watch the temperature and let it cool – that is all it takes to use it safely.
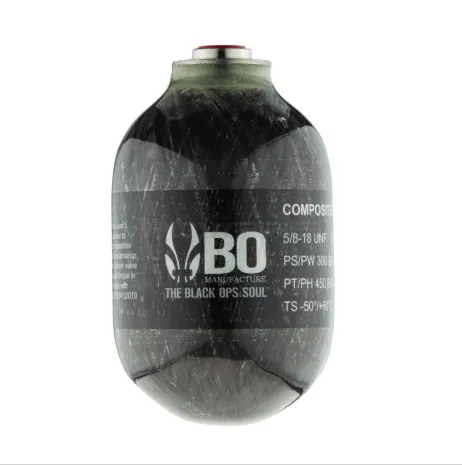
Armotech 0.5 L 4500 PSI HPA Tank
Half-litre carbon-fibre bottle filled to 300 bar. Carbon is much lighter than steel, and one fill gives over 2,000 shots – a full game day for my style of play.
Read my review
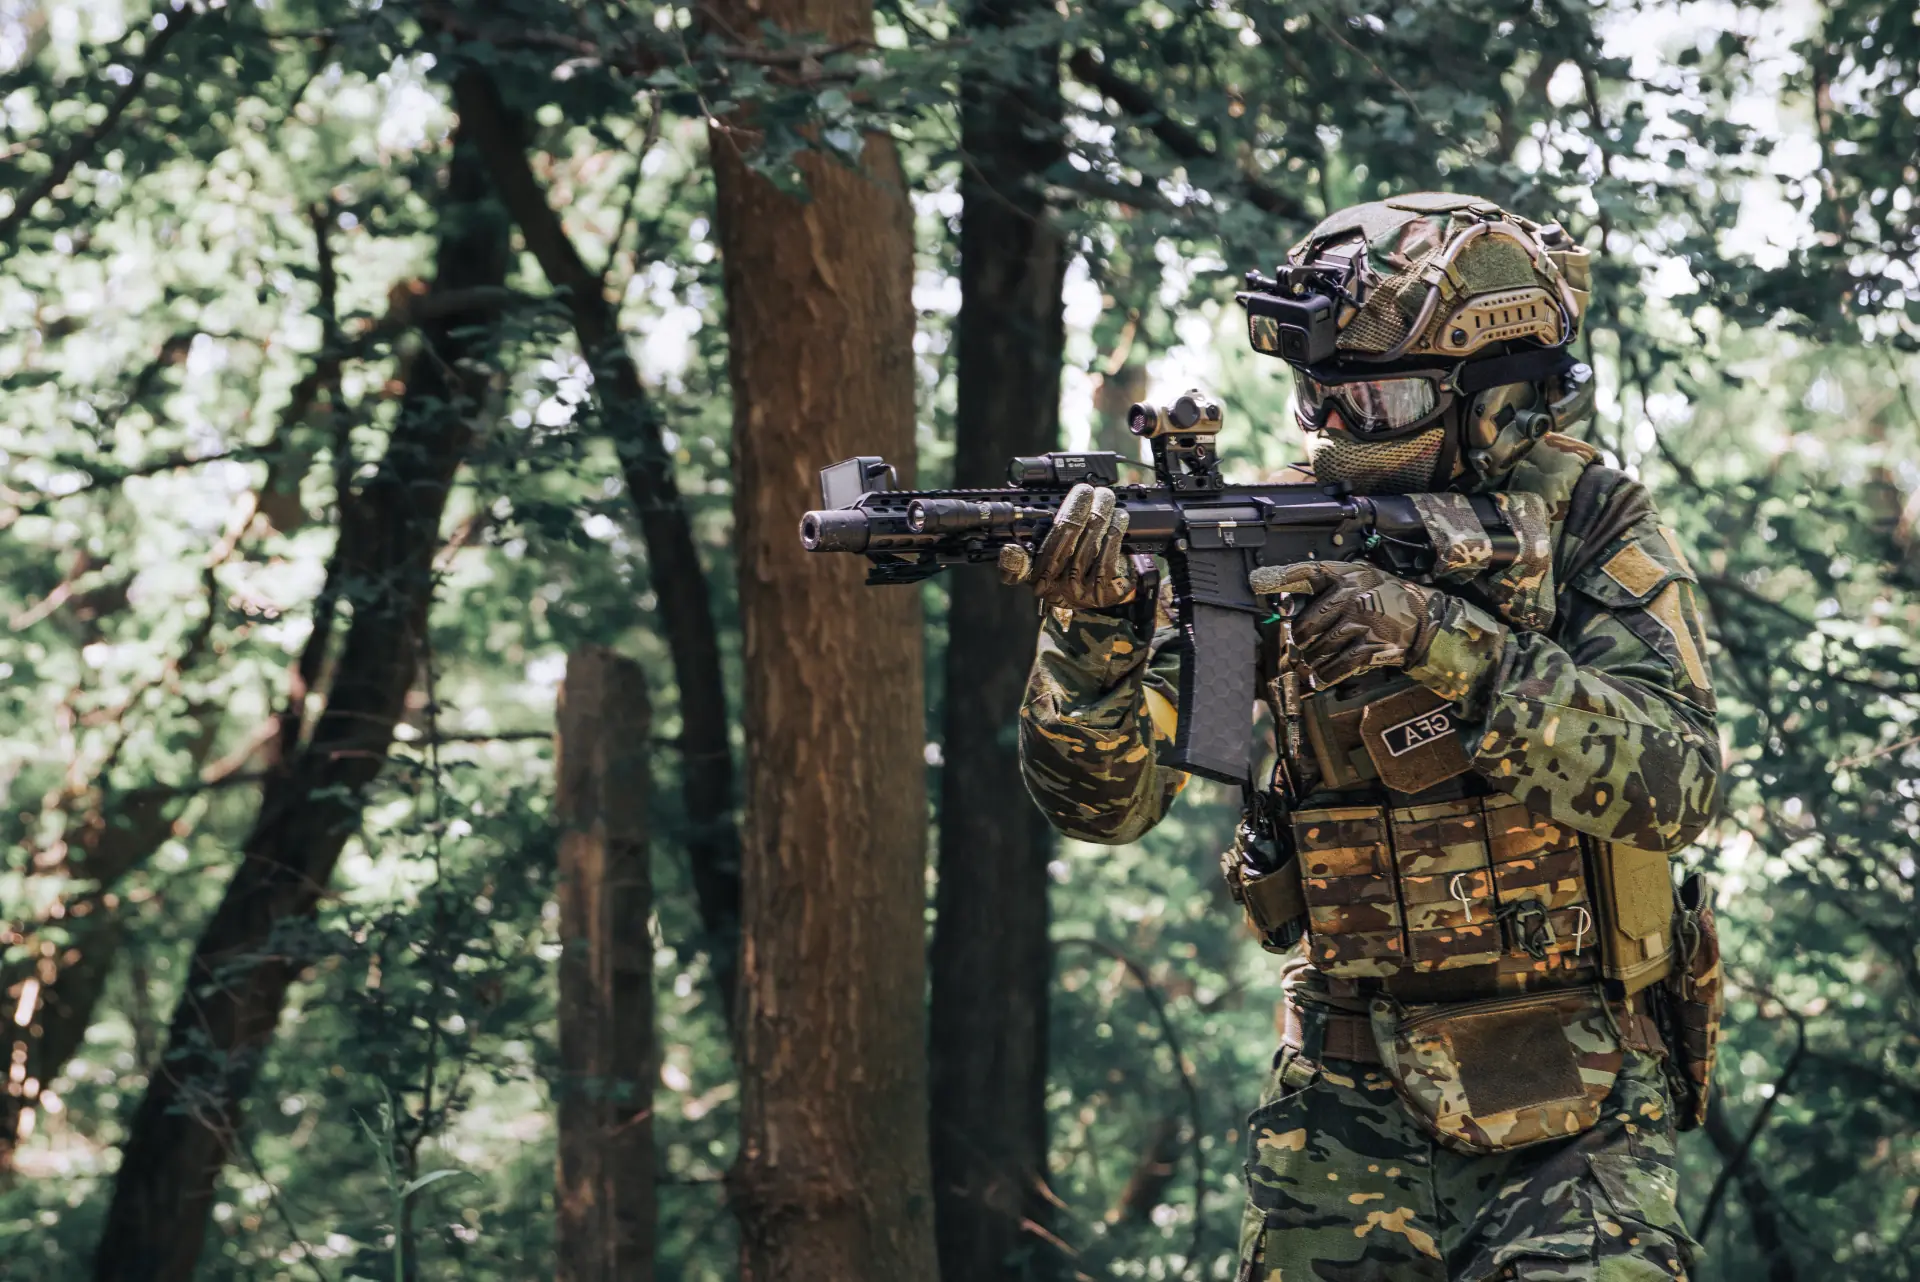
Airsoft player, YouTuber, photographer & software developer. I film my games and gear tests for the GFA Airsoft YouTube channel and write about the gear and lessons that make a difference on the field.