Quick verdict
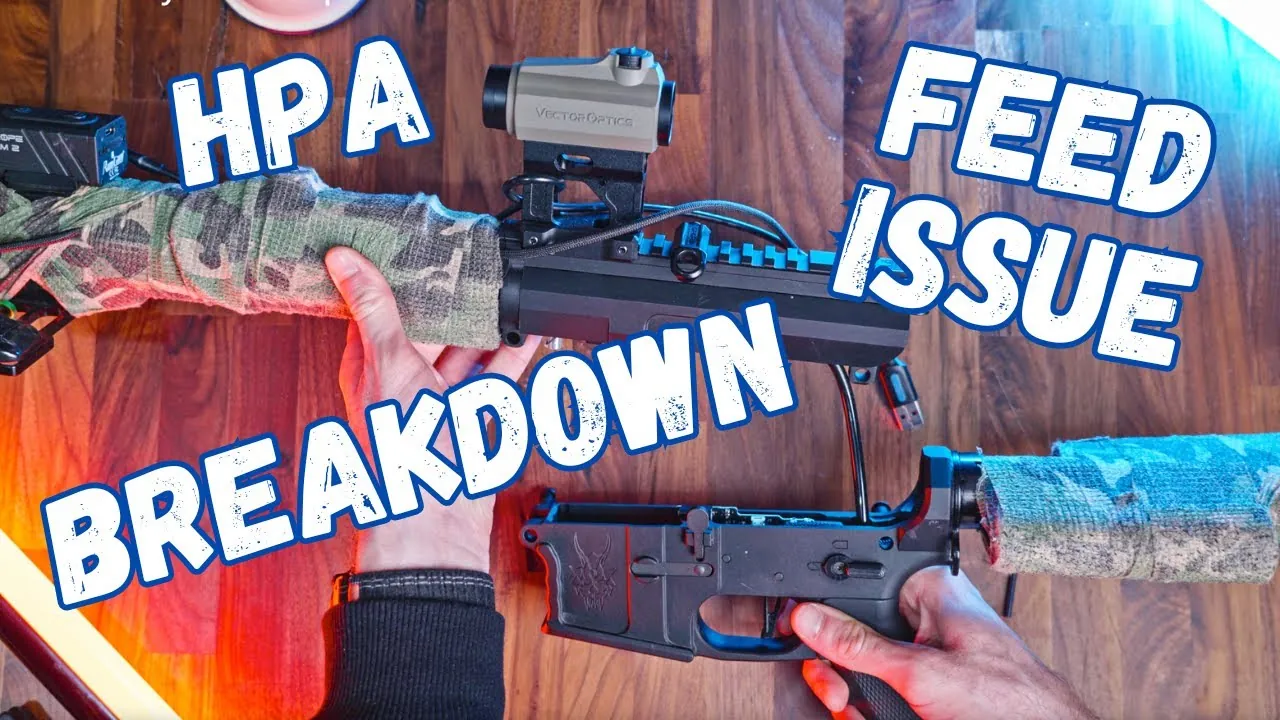
- My MTW stopped feeding because one leg of the feed tube spring slipped out of its hole – Wolverine support diagnosed it immediately.
- You must disconnect the white wire connector and pass the air line out from below to reach the barrel and bucking.
- Turn the hop-up fully counter-clockwise before removing the chamber, and watch for the tiny hop-up nub.
- Swapping the Spartan board only needs one pin removed; my warranty replacement was a semi-only board.
Watch the video
After a game where my Wolverine MTW Inferno Billet Gen3 kept failing to feed, I stripped it down, found the cause with help from MTW support and swapped the Spartan Electronics control board under warranty. This is the full process, step by step, so you can do the same.
The problem: BBs not feeding
During my last game a large portion of the BBs simply weren’t coming out. It was the first time I had to contact MTW support, and they told me straight away what was wrong: one leg of the feed tube spring had slipped out of its hole. That spring is the part that holds the BBs back and controls feeding, so when it moves, everything gets messed up. I also had trouble with the board settings, so Wolverine sent me a replacement Spartan control board under warranty.
What you need
- A thin tool to lift plastic parts and the air line (a small flat screwdriver or spudger)
- The replacement Spartan Electronics control board (only if you are swapping it)
- Patience with small parts – especially the hop-up nub
Step 1: Split the receiver and remove the air line
Push out the takedown pins as usual – you will all be familiar with those. Leave the control board for later. To reach the bucking, first disconnect the white wire connector by gripping the cable itself and pulling carefully, then remove the plastic housing with the cable. Start lifting from the right side and pull the whole piece out.
Next, pass the air line out from below. It looks and feels a bit harsh, but there is no other way – and the line handles it fine.
Step 2: Remove the engine and barrel
Lift the part that holds the engine in place, then slide the barrel out. If you’re wondering what the white piece at the end of the outer barrel is: it keeps the inner barrel from moving in any direction. Set it aside.
Step 3: Check the feed tube spring
This is where my problem was. Unscrew the feed tube and look at the metal spring: each leg sits in its own hole. If one leg has jumped out – like mine – the BBs won’t be held and released properly. Put the leg back in its hole, screw everything back together and check that it is seated.
Step 4: Hop-up chamber and bucking
Pull one plastic piece down and unclip the other. Turn the hop-up all the way counter-clockwise to release the nub, then gently pull the hop-up chamber out to see the bucking. Mine had only a few games on it and was in good condition.
Watch the nub at this point – there is an exact moment where it falls out, and it is tiny. Reassemble in reverse, then check the chamber is aligned with the barrel before closing it up.
Step 5: Reassemble the upper
- Put the plastic piece back on and press the other one on firmly.
- Don’t forget the spring – put it back on the barrel.
- Return the engine to its place, press it firmly inward, hold it and fit the plastic over it.
- Route the air line back in place (it takes a certain dose of aggression), with the cable on the correct side of the line so it clips in.
- Plug the white connector back in – a bit tricky, but it goes.
Step 6: Replace the Spartan control board
On the lower receiver you only need to remove one pin – leave the other, which holds the trigger. With a light pull upward the board comes out. The new board MTW sent me turned out to be a semi-only fire version; the only external difference I could see is the grey cable. Place it in position, make sure the pin lines up exactly with its hole, and reassemble.
One last tip from experience: pay attention to which side of the battery the air line goes when you close the stock – not like me the first time.
Common MTW feeding problems: quick checklist
- Feed tube spring: both legs in their holes?
- Magazine: seated fully and feeding to the last BB?
- Hop-up chamber: aligned with the barrel, nub in place?
- Air line: routed correctly and not pinched when the receiver is closed?
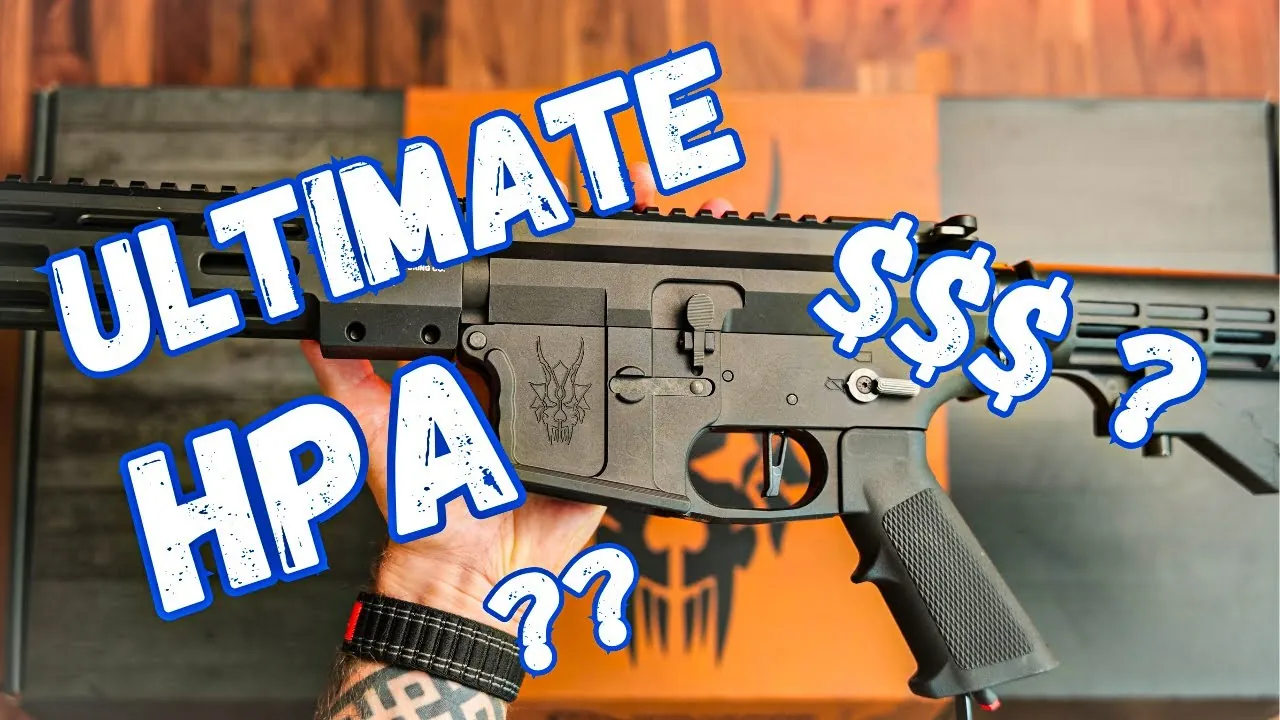
Want to see the rifle from new? Read my MTW Inferno Billet Gen3 unboxing and field test and the HPA system setup guide.
Gear in this article
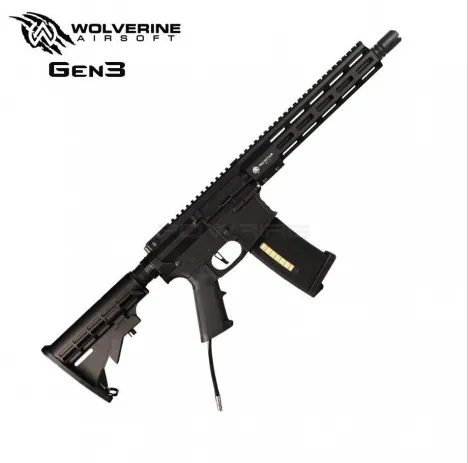
Wolverine MTW Inferno Billet Gen3 (10")
My primary and my first HPA rifle. Tight, solid build straight out of the box – I run it at 1.15 J with 0.30 g BBs. Budget for a 7.4 V battery (it goes in the stock tube and is not included) and a shorter muzzle device.
Read my review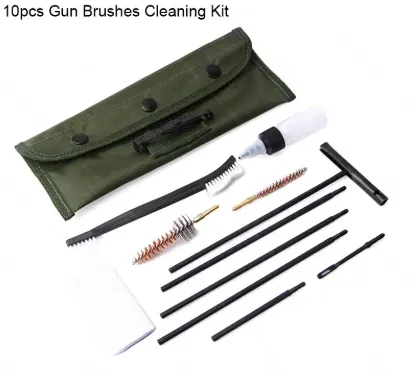
Airsoft Cleaning Kit
Cleaning rod and brushes for the inner barrel. A clean barrel and bucking mean consistent hop-up and accuracy – part of my routine after muddy games.
Airsoft player, YouTuber, photographer & software developer. I film my games and gear tests for the GFA Airsoft YouTube channel and write about the gear and lessons that make a difference on the field.