Quick verdict
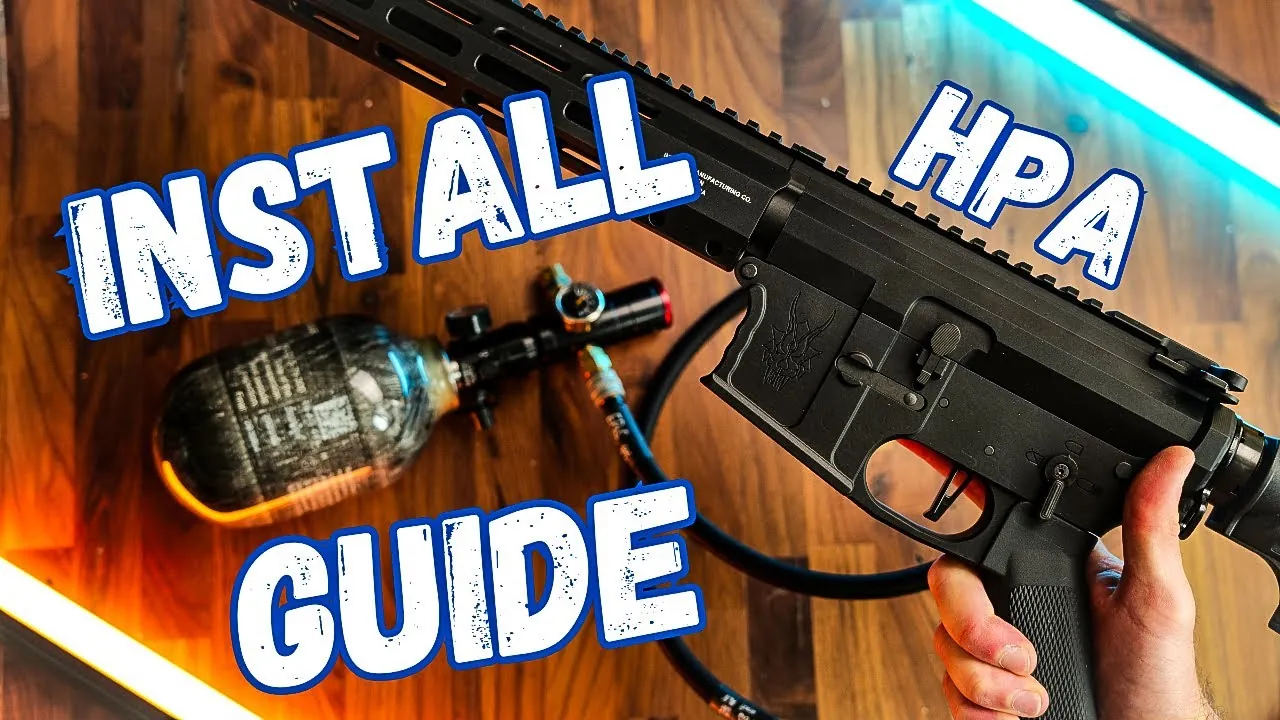
- An HPA system needs four parts: a small battery for the electronics, an air line, a rifle regulator and a tank with its own regulator.
- The tank regulator drops 300 bar to 800 psi; the Redline Mini SFR then sets the working pressure – and your joules.
- Turn the key right to increase power; to decrease, turn left and fire a shot to release pressure.
- Disconnect in reverse and unscrew the Redline so it is not left under high pressure.
Watch the video
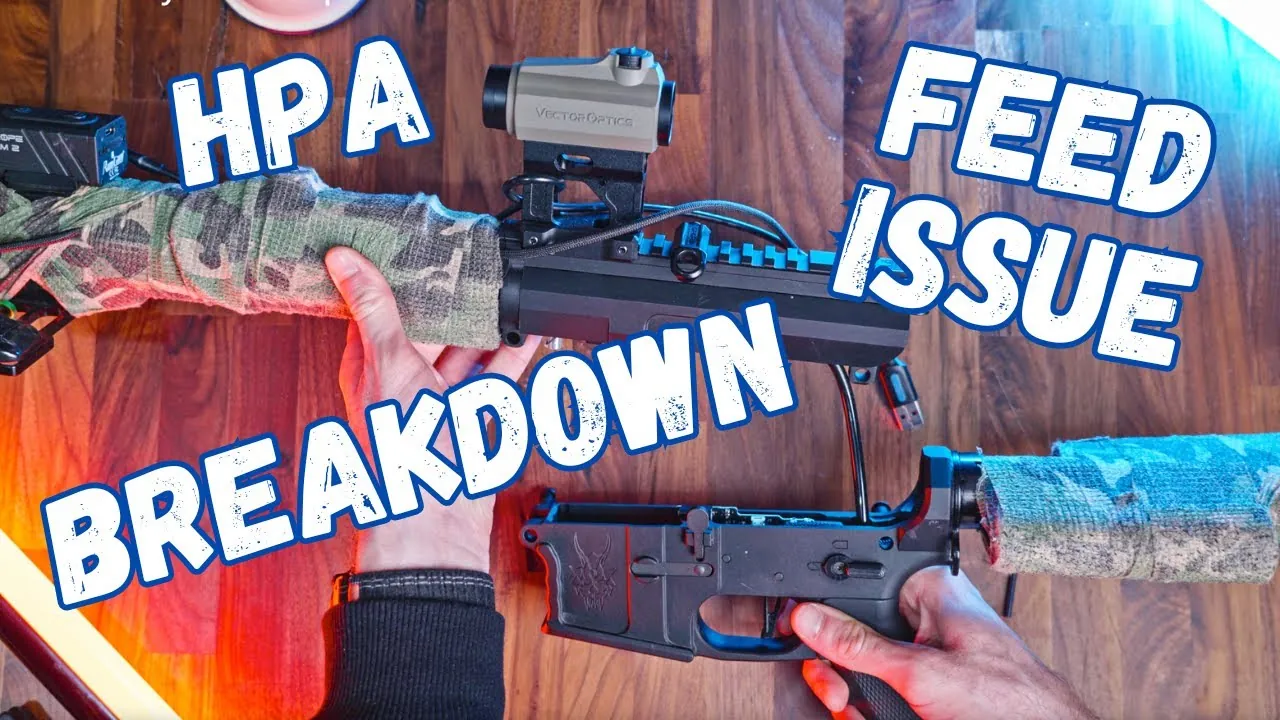
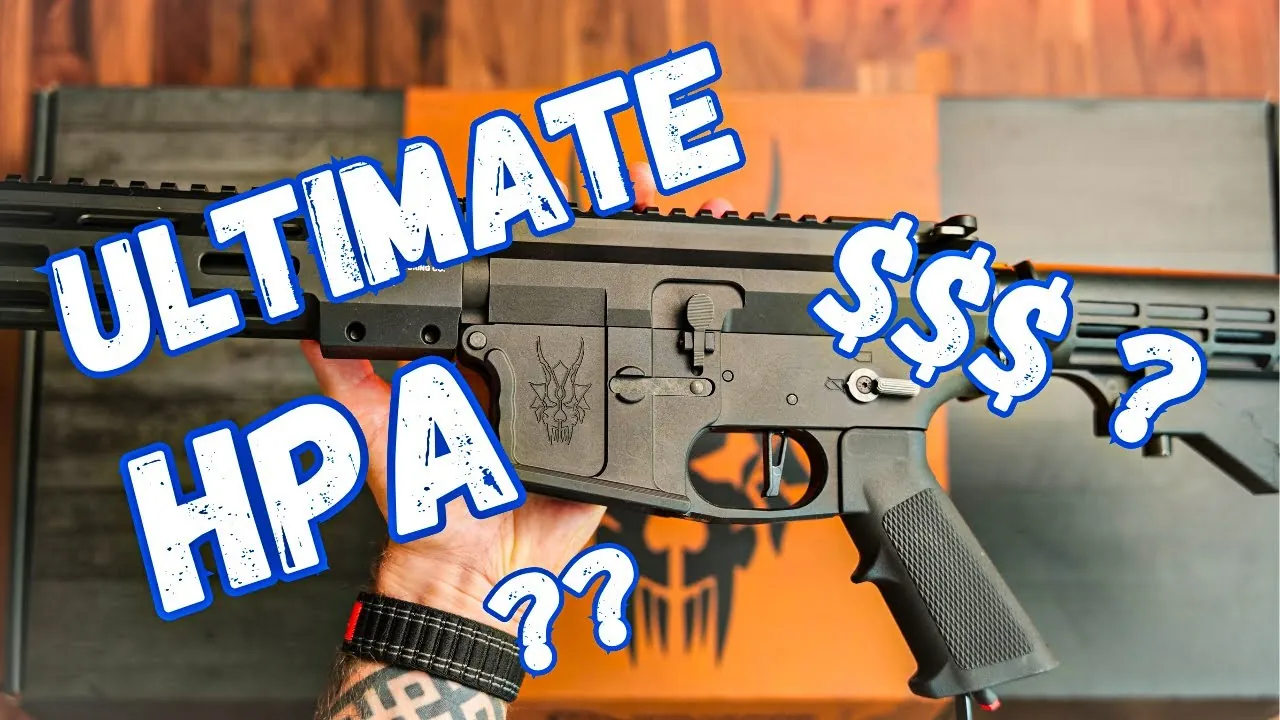
A complete HPA system is just four things: a battery for the electronics, an air line, a regulator and a tank. Here is exactly what I use to power my Wolverine MTW Inferno Billet, how to connect it, how to adjust your power and how to disconnect it safely.
Together with my friends from OPFOR Armory I picked high-quality, reliable components – this is, in my opinion, the best bang for your buck.
What you need for an HPA setup
| Replica | Wolverine MTW Inferno Billet Gen3, 10" |
|---|---|
| Battery | Titan 7.4 V 350 mAh Li-ion – over 10,000 shots per charge |
| Air line | EPeS reinforced braided airsoft line |
| Rifle regulator | Redline Mini SFR |
| Tank | 0.5 L carbon-fibre bottle, 300 bar / 4500 psi – over 2,000 shots per fill |
| Tank regulator | Pre-set to 800 psi output, with gauge, fill port and burst disc |
1. Install the battery
The battery only powers the control board – the air does the work. Open the pin, slide the battery in (on the MTW it lives in the stock tube) and close it up. A 350 mAh 7.4 V Li-ion gives me over 10,000 shots before I need to recharge.
2. Connect the air line
I use a reinforced EPeS line. It gives consistent air transfer and maximum airflow, and it won’t kink or burst when you drag it through bushes. Connect it to the rifle first.
3. The tank and tank regulator
My bottle is carbon fibre – much lighter than steel – with a 0.5 L volume, holding air at up to 300 bar. That is enough for over 2,000 shots. On top sits the tank regulator, which reduces the bottle pressure to 800 psi. It has:
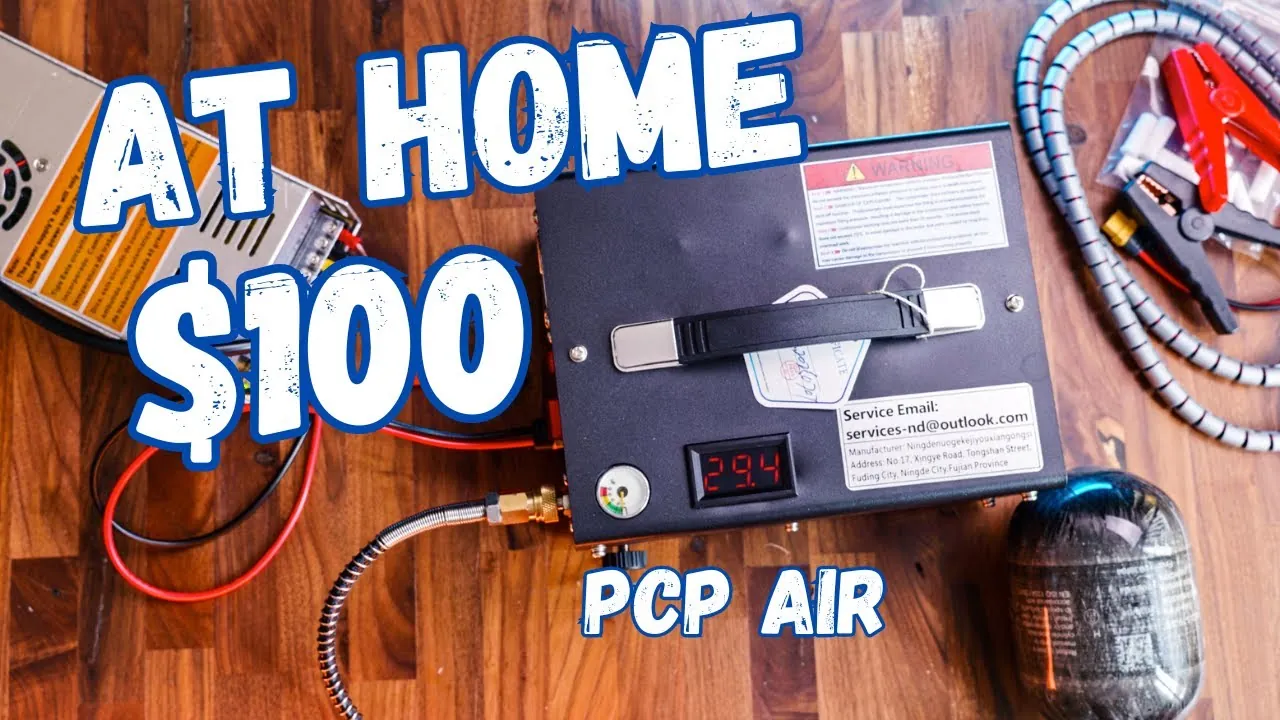
- the fill port, used to fill the bottle (I do it at home with a PCP compressor),
- an over-pressure relief valve (burst disc) that blows if the pressure ever gets too high,
- a gauge showing the pressure in the bottle.
Mine was installed and pressure-tested by OPFOR Armory, who also made a custom cap for it. I recommend having a shop do this part.
4. Install the Redline Mini SFR regulator
The Redline reduces the 800 psi from the tank to the low working pressure the rifle’s engine needs. By changing that pressure you control how much air goes to the engine – and therefore your joules. Simply screw it onto the tank regulator. At some point you’ll hear air and the Redline gauge will show pressure; give it another half turn. Once pressurised, the air itself stops it from unscrewing on its own. Connect the line and the system is live.
5. How to adjust power (joules)
- Increase power: turn the adjustment key to the right – you’ll see the pressure rise immediately on the gauge (around 100 psi in my case).
- Decrease power: turn to the left, then take a shot – the pressure only drops once some air is released.
Always check with a chronograph and stay under your field’s limit. I run my MTW at 1.15 J with 0.30 g BBs.
6. How to disconnect safely
- Disconnect in reverse order: the line from the regulator, then from the rifle.
- It’s recommended to also unscrew the Redline so it doesn’t sit under high pressure.
- If it’s too tight to unscrew because of the pressure, briefly insert the line to release the trapped air, then unscrew it.
Is HPA worth it?
- Pros: very consistent shots, easy power tuning, crisp trigger, thousands of shots per fill, very little to wear out.
- Cons: higher starting cost, you carry a tank and line, and you need a way to refill (compressor or dive shop).
Next steps: see the rifle in my MTW unboxing and field test, and the full parts list in my loadout.
Gear in this article
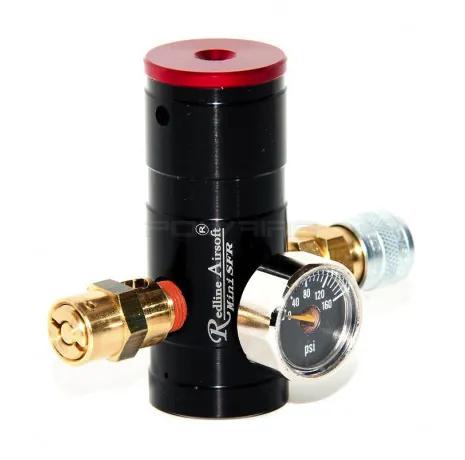
Redline Mini SFR HPA Regulator
Takes the 800 psi coming off the tank down to the low working pressure the MTW engine needs, and lets me dial power up or down with a hex key. Compact enough to stay out of the way on the bottle.
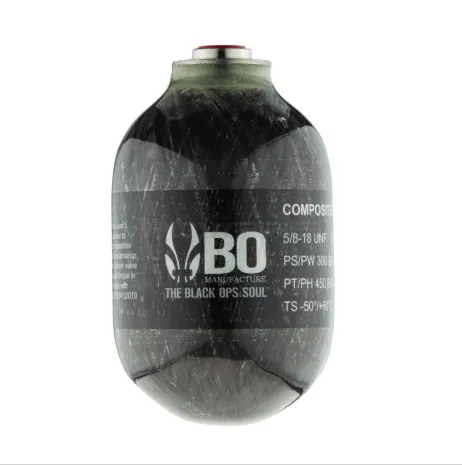
Armotech 0.5 L 4500 PSI HPA Tank
Half-litre carbon-fibre bottle filled to 300 bar. Carbon is much lighter than steel, and one fill gives over 2,000 shots – a full game day for my style of play.
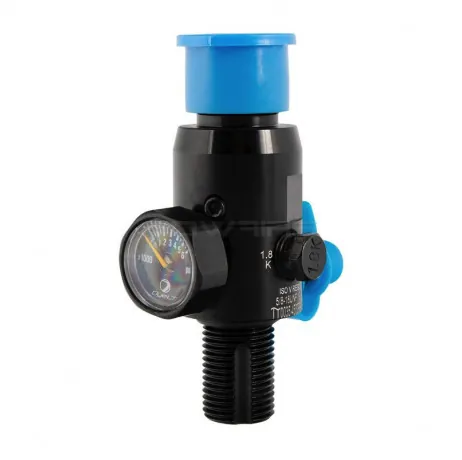
DYE HP Tank Regulator (4500 PSI)
The first pressure stage: drops 300 bar in the bottle to a safe 800 psi output and carries the fill port, burst disc and gauge. Mine was installed and pressure-tested by OPFOR Armory – worth having a shop do this part.
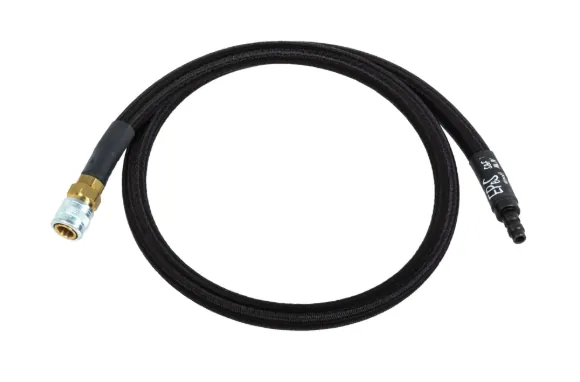
EPeS MK IV Braided HPA Line (80 cm)
Reinforced braided line between regulator and rifle. Consistent airflow, no kinks, and it survives being dragged through bushes. 80 cm leaves enough slack to route it from a tank pouch.

E9800-X Chronograph (FPS Meter)
Every field chronos you before the game. With an adjustable HPA regulator, this is how I check my power at home and stay under the joule limit.

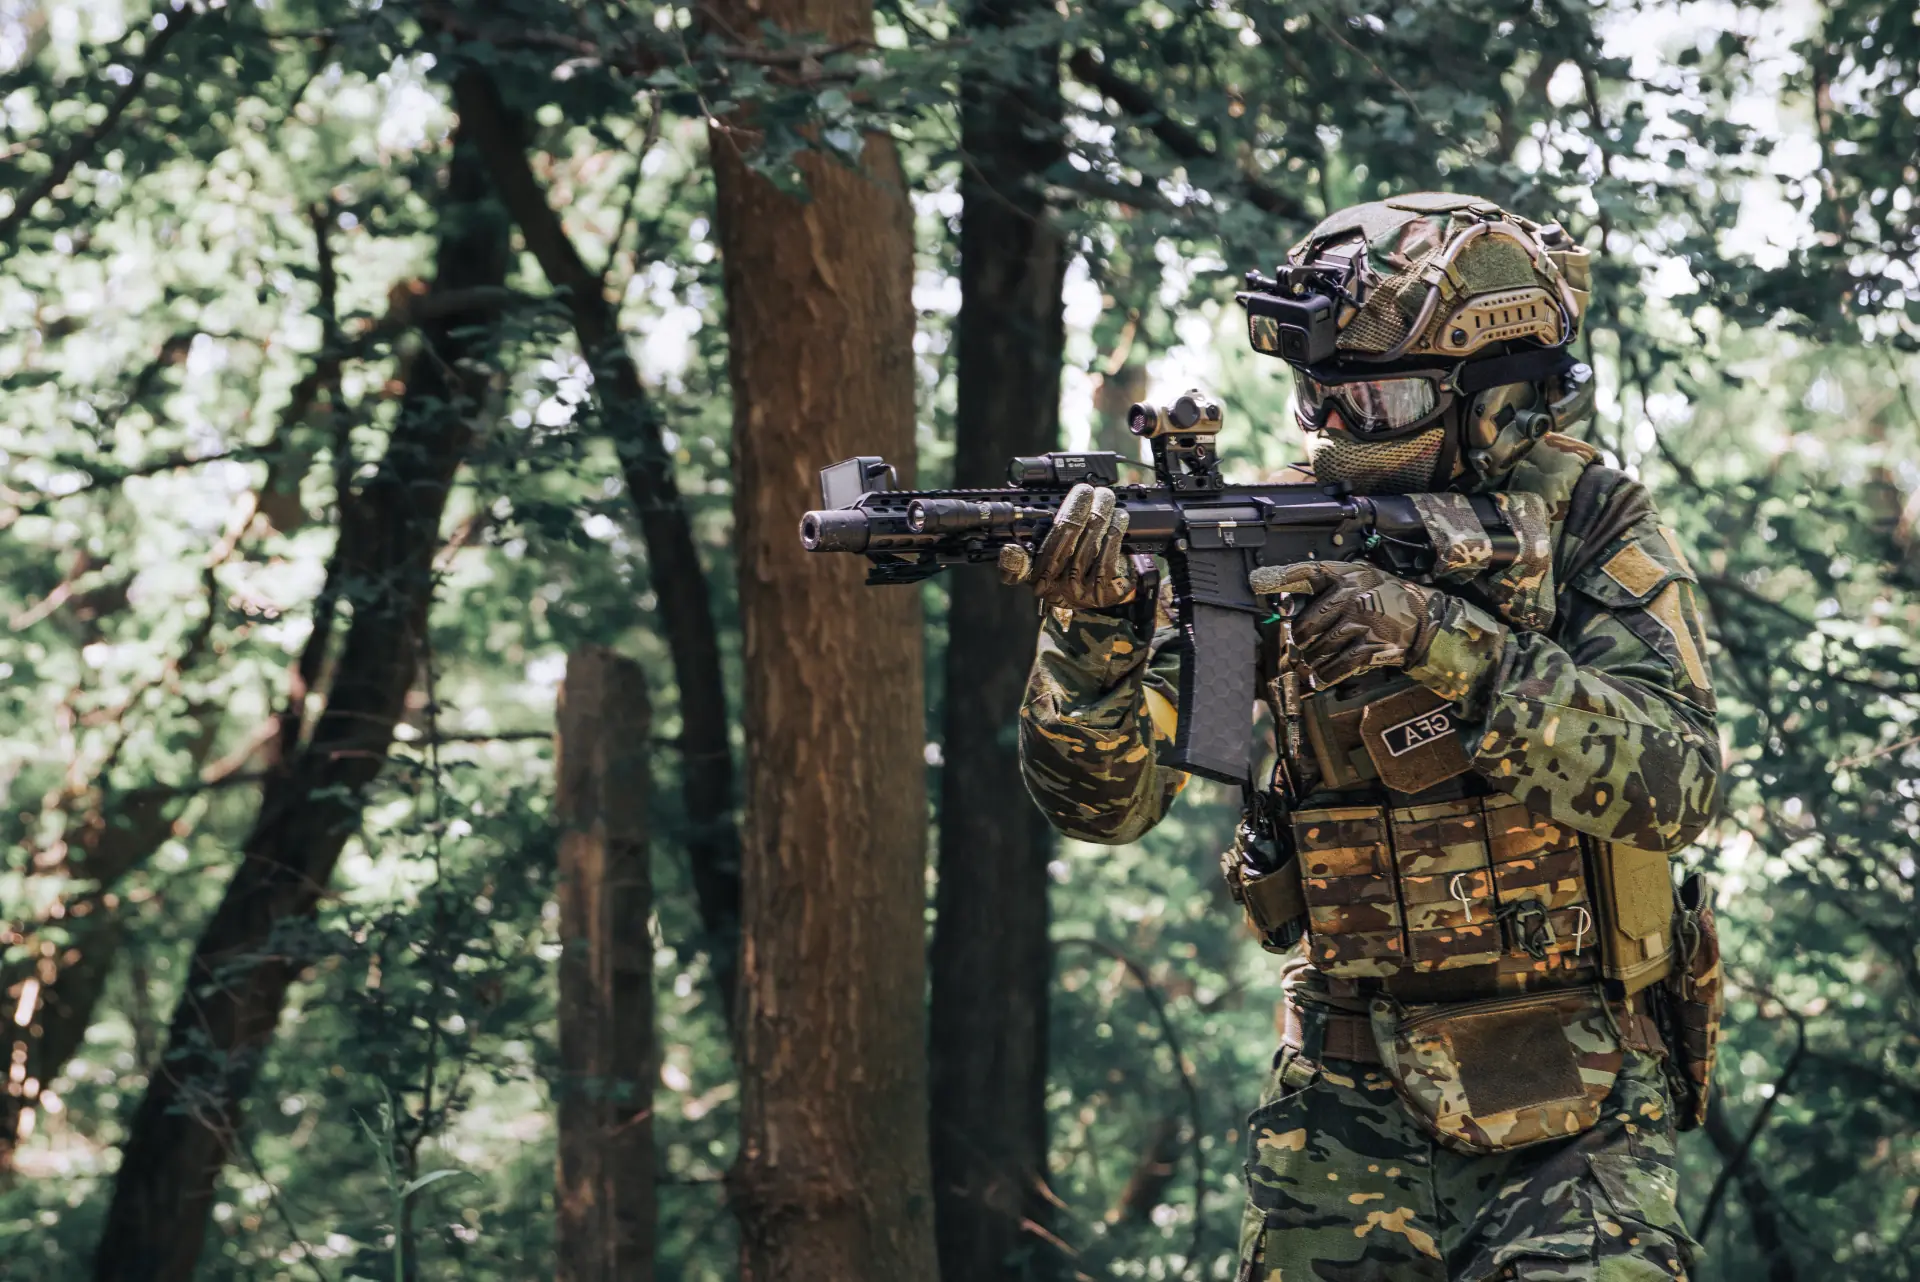
Airsoft player, YouTuber, photographer & software developer. I film my games and gear tests for the GFA Airsoft YouTube channel and write about the gear and lessons that make a difference on the field.