Quick verdict
- The ScopeCam SE records 1080p60 through a 25 mm lens optimised for 12–40 m.
- Its replaceable 18650 battery gives up to ~200 minutes per charge.
- Use a fast card like the SanDisk Extreme PRO and format it to FAT32.
- A great first scope cam; upgrade to the 4K if you want more detail.
Watch the video
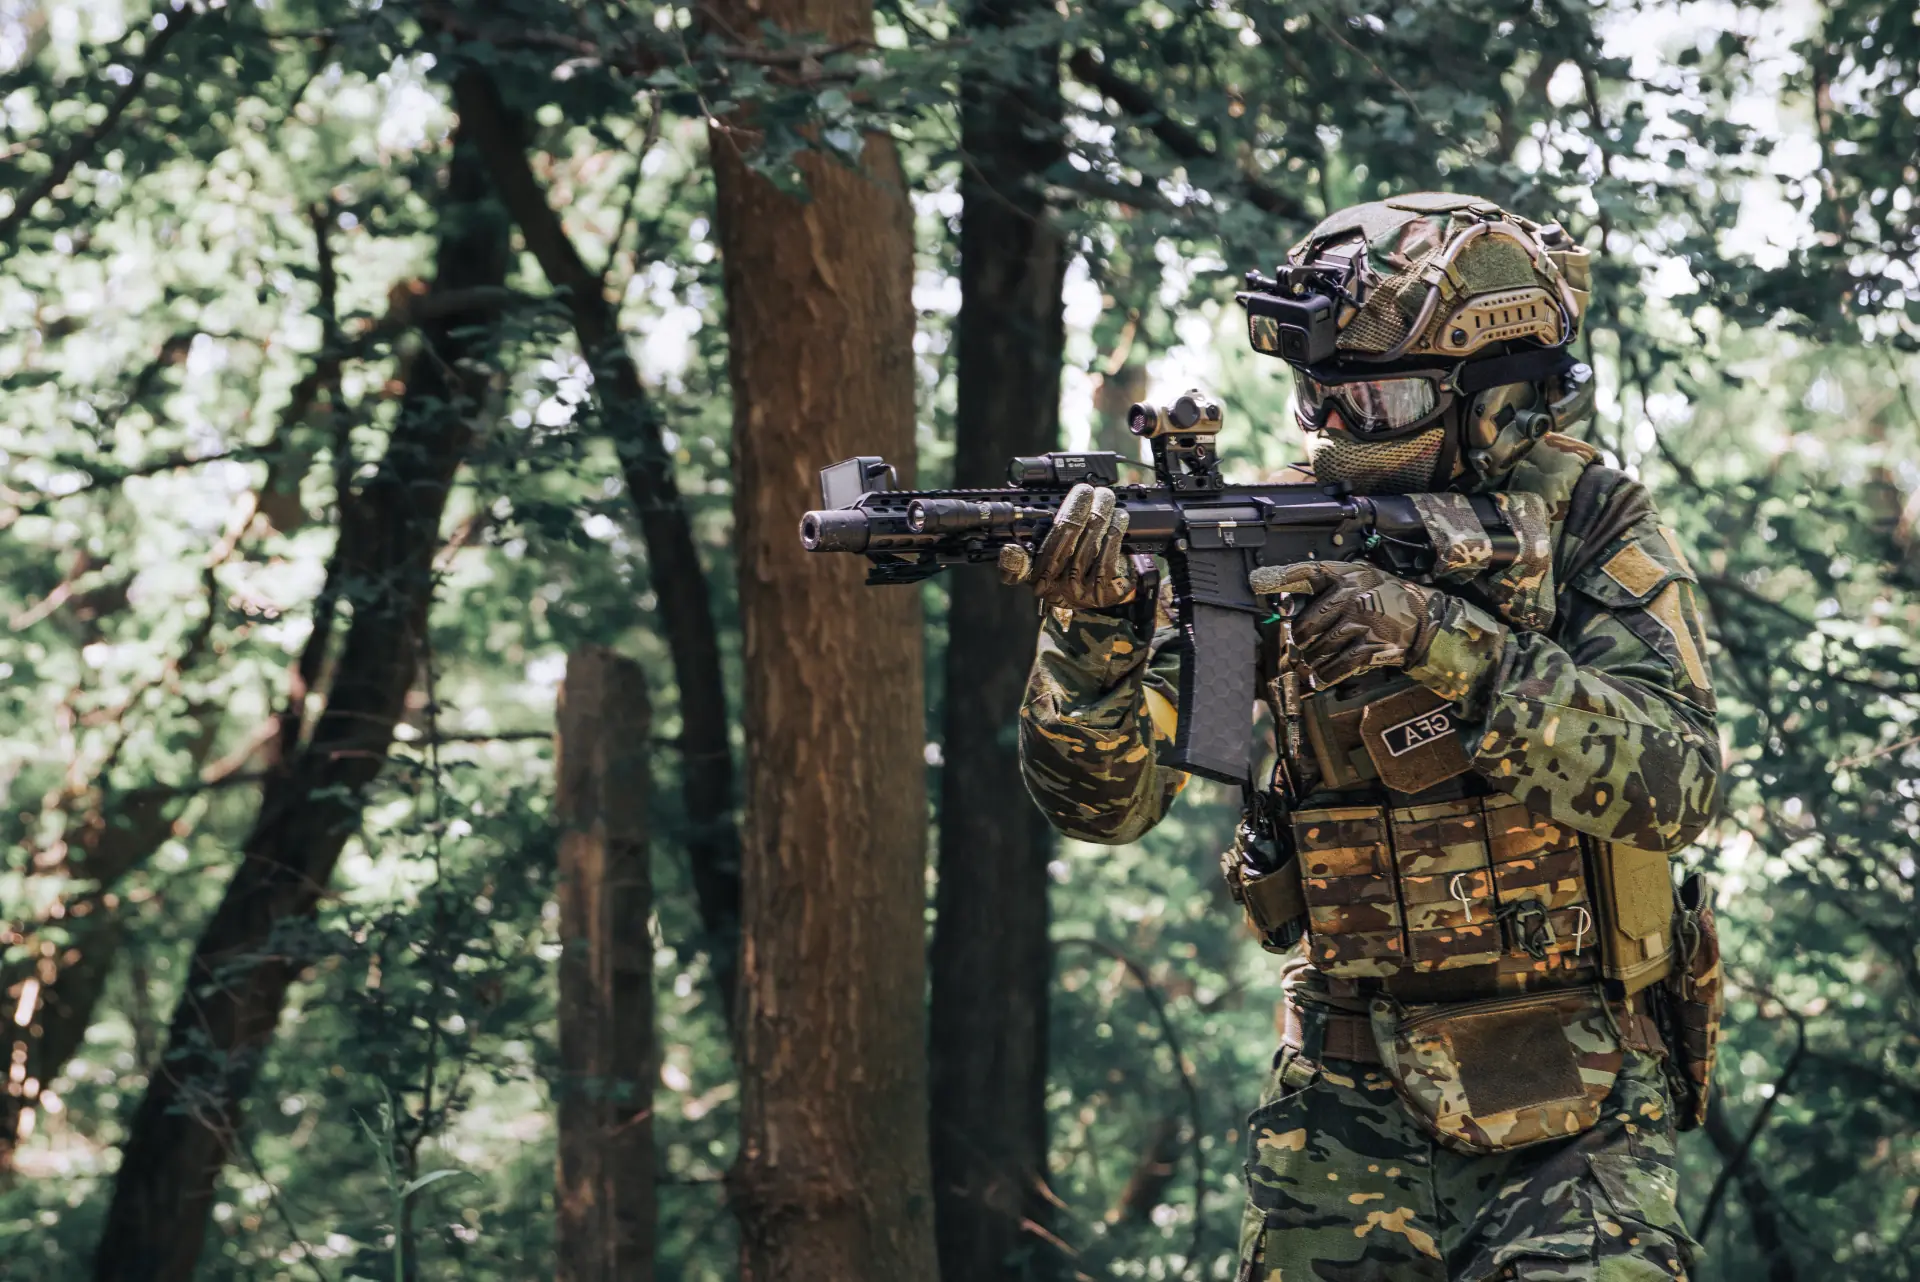
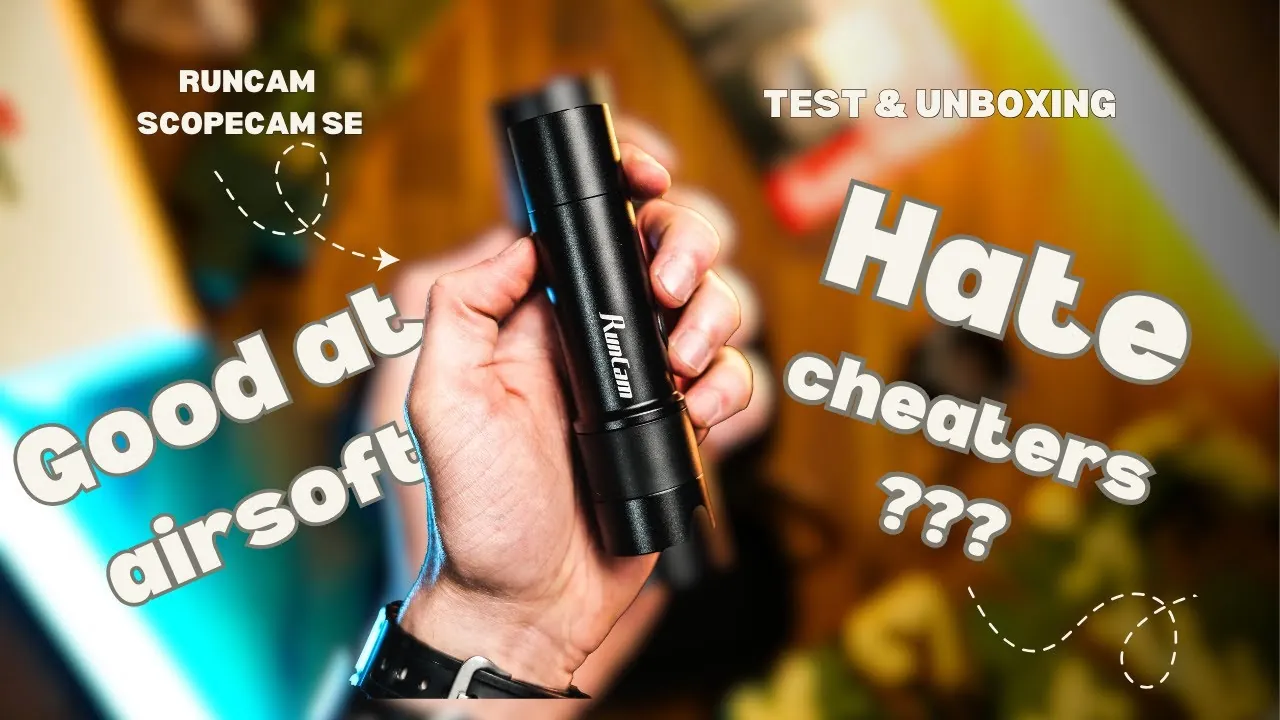
When I started my airsoft journey I researched an affordable scope camera to improve the quality of my YouTube content. This is the RunCam ScopeCam SE: unboxing, specs, test footage from 10 to 33 metres and how to connect it to the app.
Unboxing
The box is sturdy and well designed – minimalistic but professional. Inside, everything is securely packed and the camera is wrapped in protective foam. Along with the camera you get mounting hardware, a pre-installed lens protector and an external start/stop button connected via micro USB.
The camera has a sleek aluminium-alloy body with a sturdy plastic outer layer – it feels premium and is resilient outdoors. I really like the clear protective glass in front of the lens: it adds durability and keeps your footage clear.
Specifications
| Video | 1080p at 60 fps |
|---|---|
| Lens | 25 mm – optimised for targets at 12–40 m |
| Waterproofing | IP64 – splashes, rain and snow |
| Battery | Replaceable 18650, up to ~200 minutes at 1080p60 |
| Storage | microSD up to 512 GB |
| Ports | Micro USB for charging and file transfer |
| Connectivity | Wi-Fi + RunCam app |
The swappable battery is a big deal: unlike cameras that lock you into one battery, you can carry a spare and keep recording through long events.
Memory card tip
I use a 128 GB SanDisk Extreme PRO. Its fast read and write speeds keep 1080p60 recording smooth during long sessions, and you can capture hours of footage. Just remember to format the card to FAT32 for the best performance.
How to use it
- Power on: press the top button once – a solid red light means it’s on.
- Record: press again – a blinking red light means it’s recording.
- Connect to your phone: download the RunCam app, select “ScopeCam SE”, turn the camera on and double-press the power button until the blue light flashes. Join the camera’s Wi-Fi in your phone settings, enter the password shown, and go back to the app. If you get a failed connection or a grey screen, restart the app and connect again from zero – it worked for me on the second try.
Test footage: 10 to 33 metres
I recorded targets at 10, 20, 25 and 33 metres – watch the video to judge resolution and stability yourself. At its optimal distances the image is sharp and clear; at close range the fixed zoom can look a bit soft, which is normal for a 25 mm lens.
Verdict
- Pros: affordable, rugged IP64 body, swappable 18650 battery with ~200 min runtime, external start/stop button, big microSD support.
- Cons: 1080p only; soft at very close range; the app connection can need a retry.
The ScopeCam SE is a great economical and reliable first scope camera. When I wanted more detail I upgraded – read the Scope Cam 2 4K vs SE comparison.
Gear in this article
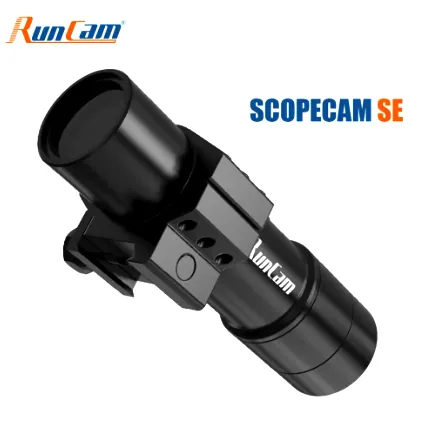
RunCam ScopeCam SE
Budget 1080p60 scope cam with a swappable 18650 battery (up to ~200 min). Sharpest at 12–40 m. A great first scope cam – I later upgraded to the 4K.
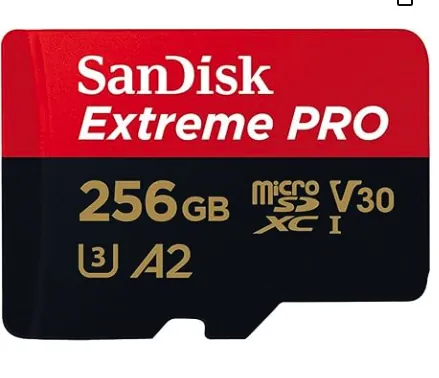
SanDisk Extreme PRO microSD Card
Fast enough for smooth 1080p60 and 4K recording for hours. I use 128 GB in my scope cam – format it to FAT32 for the RunCam.
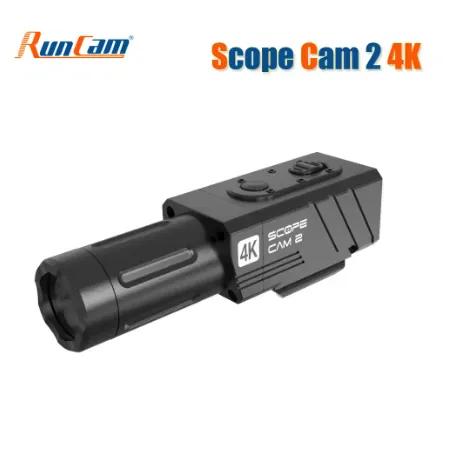
RunCam Scope Cam 2 4K
My go-to scope camera: aluminium IP64 body, built-in 20 mm rail mount, 4K30 or 2.7K60 (I recommend 2.7K60). Best value for quality I found, and the camera most of my gameplay is filmed with.
Read my review
Airsoft player, YouTuber, photographer & software developer. I film my games and gear tests for the GFA Airsoft YouTube channel and write about the gear and lessons that make a difference on the field.