Quick verdict
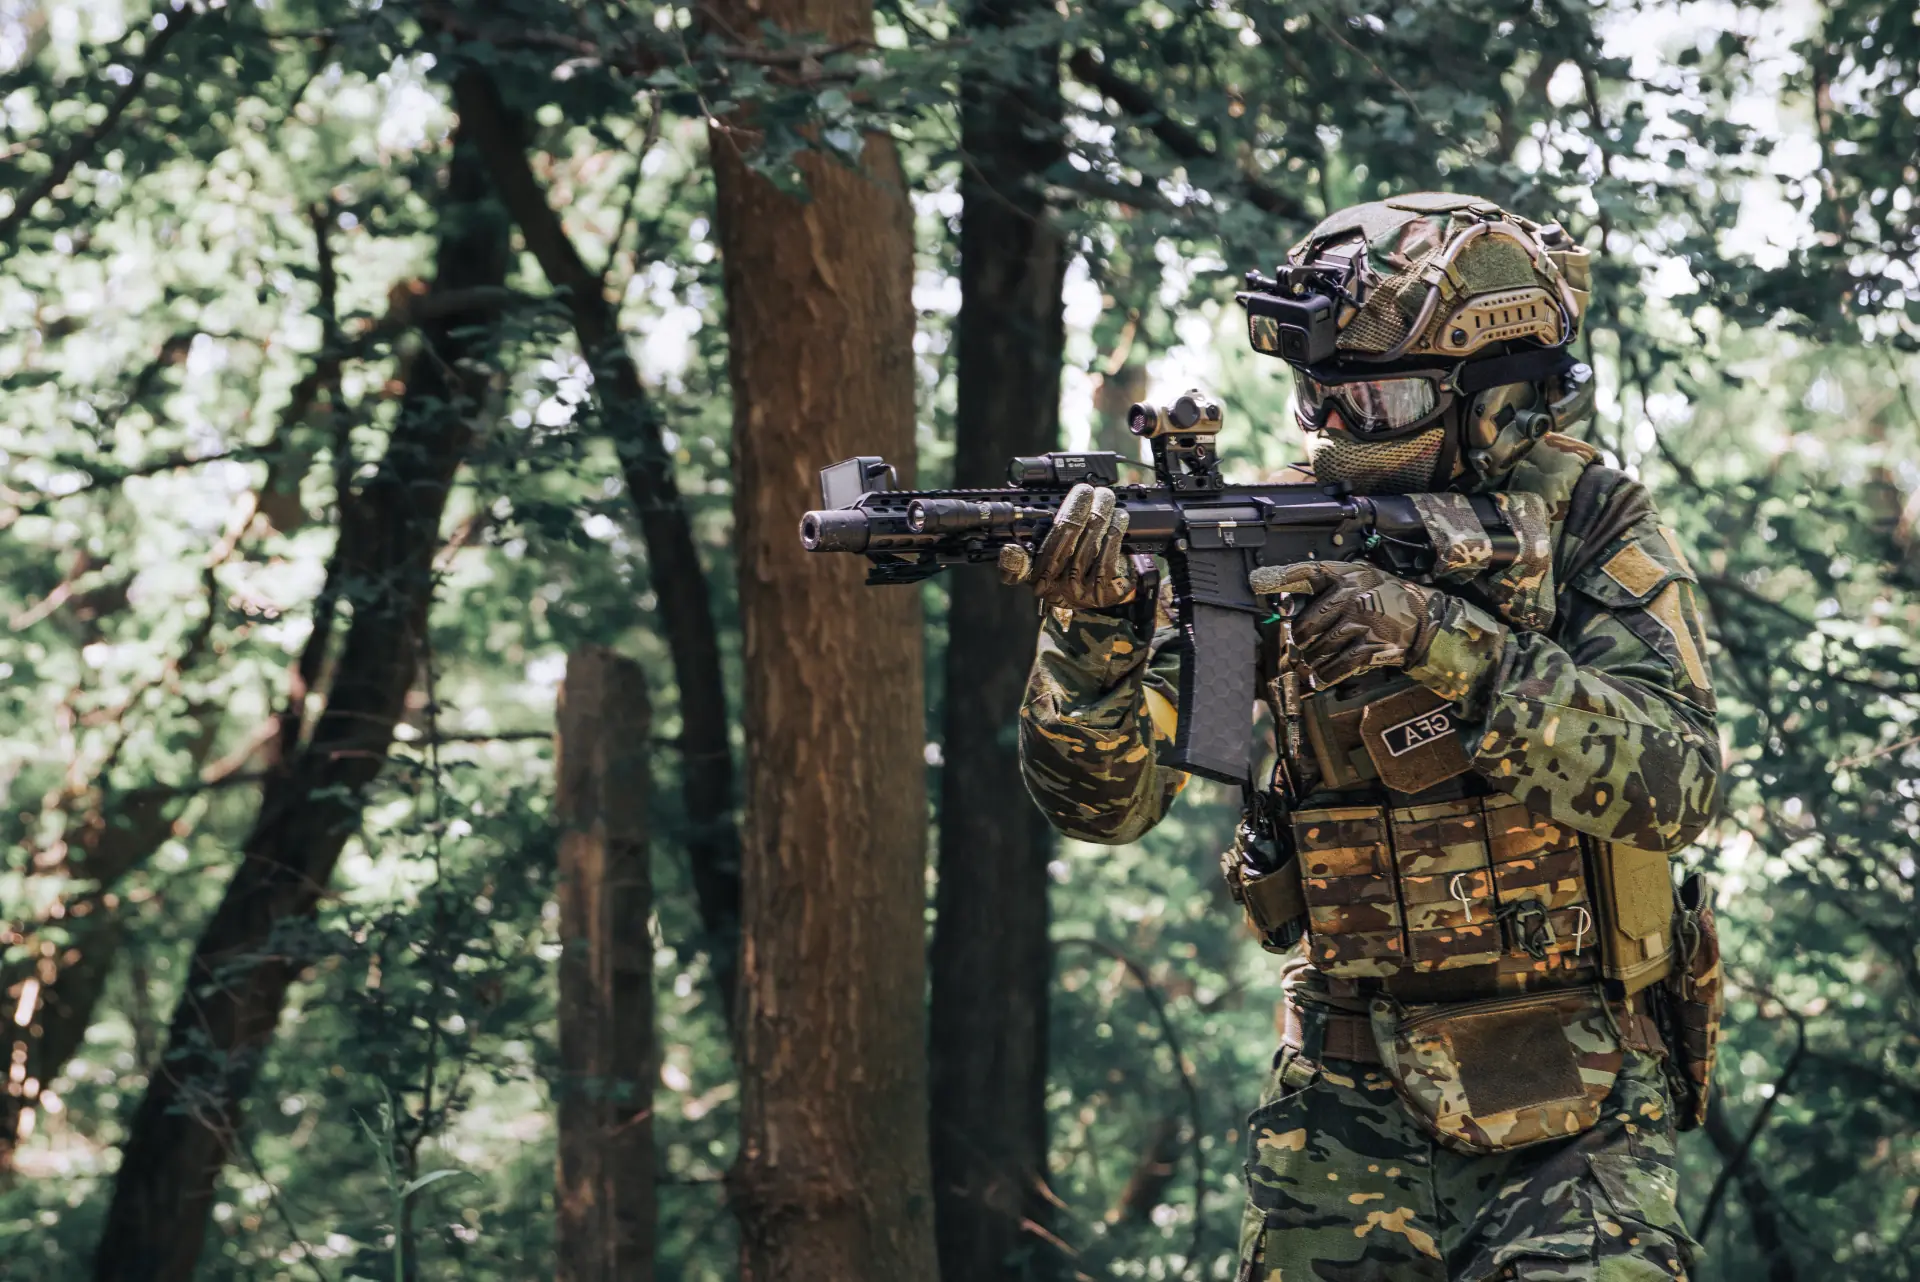
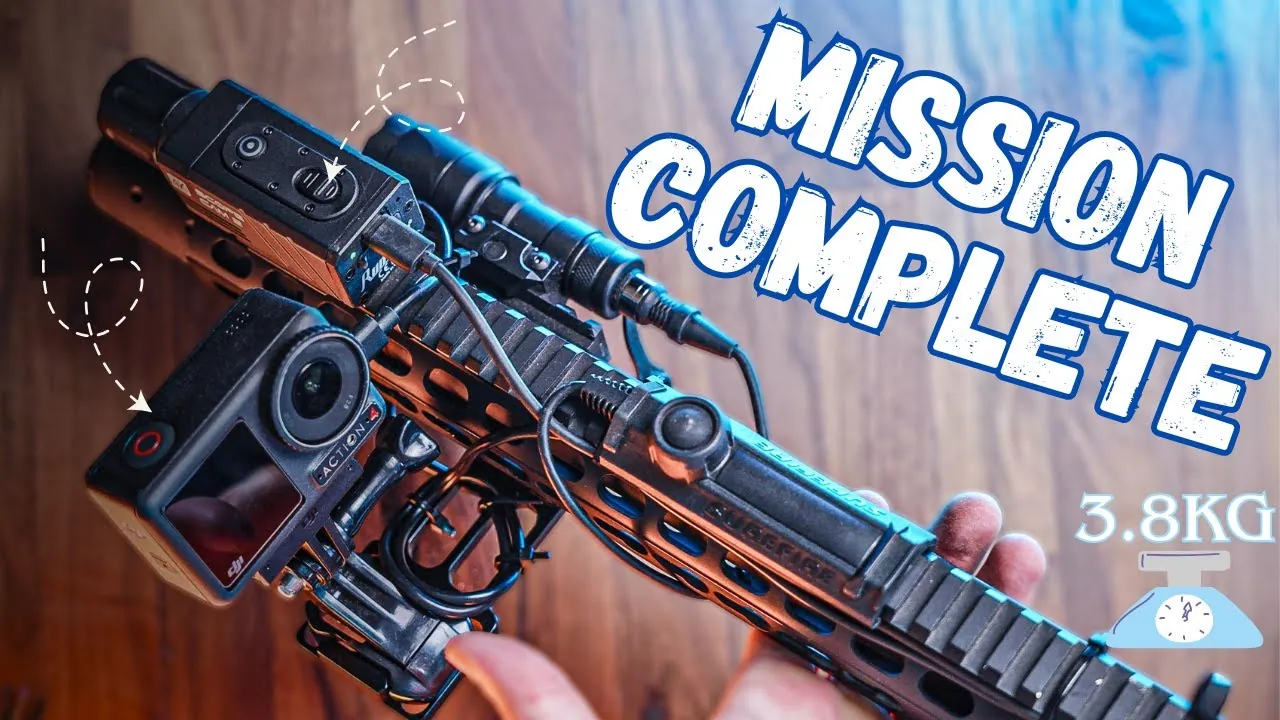
- The rifle goes from 2,100 g to about 3,800 g with two cameras, power banks, red dot, light, battery and magazine.
- Put the power banks on the stock to move the centre of gravity back towards you.
- A high riser lets the red dot see over the scope camera.
- Route the two camera cables separately, secure them with zip ties and keep the sling hole free.
Watch the video
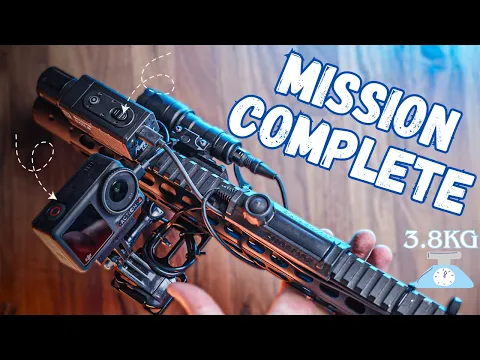
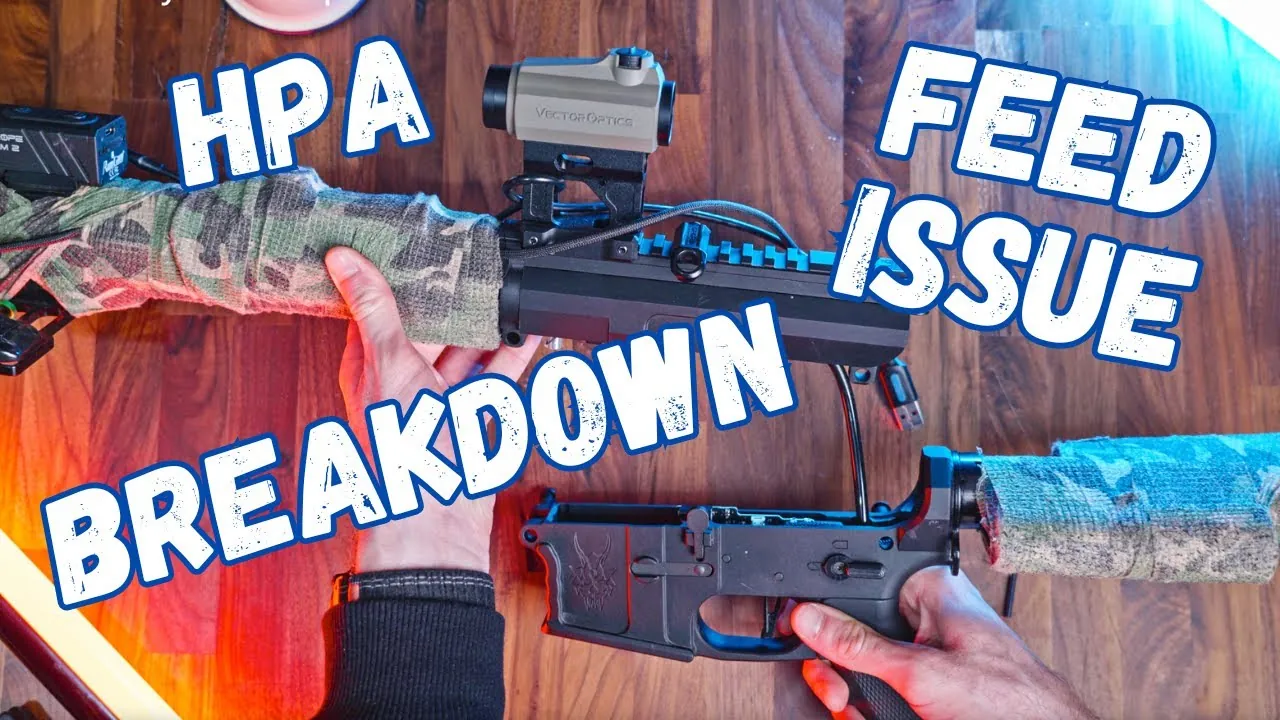
After a year of testing and tweaking, this is the exact camera setup I use to film my airsoft gameplay. I’ll show you what I put on my rifle, why, how I route the cables – and how much weight every piece adds.
Disclaimer: this is not a real firearm, it is an airsoft replica. And if you have suggestions for improving the setup, I’d love to hear them in the comments on YouTube.
Weight breakdown
The replica starts at 2,100 g. Here is everything that goes on it:
| Replica (bare) | 2,100 g |
|---|---|
| 2 × 5,000 mAh power banks on the stock | +545 g |
| Vector Optics red dot on a high riser | +190 g |
| RunCam Scope Cam 2 4K | +190 g |
| DJI Osmo Action 4 “selfie” cam with mount | +117 g |
| WADSN M300 weapon light | +133 g |
| Rifle battery | +66 g |
| Full magazine | +220 g |
| Total | ≈ 3,800 g |
1. Rail plates first
I start with several Picatinny rail plates, on which most of the items are mounted. Plan their positions before you buy anything.
2. Batteries on the stock – for balance
I attached two 5,000 mAh power banks to the stock: one powers the selfie camera, the other the scope camera. I chose two smaller batteries instead of one big one because of their size. The most important consideration is putting weight at the rear: with the cameras at the front, the centre of gravity shifts far forward, and the batteries bring it back. The trade-off is a couple of visible cables.
3. Red dot on a high riser
A red dot from Vector Optics on a taller riser, so I can see over the scope camera. Read more about the mounts in my Unity mounts and Maverick setup.
4. The scope camera
The RunCam Scope Cam 2 4K – for me the best choice on the market right now. Installation is quick and easy thanks to the built-in rail mount.
5. The selfie camera
A rail section holds the selfie camera: one part attaches to the rifle, the other is the camera mount, with bolts underneath to tighten it so it won’t move. I use DJI’s magnetic quick release, so the DJI Osmo Action 4 (with a permanently fitted battery) just clicks on. For extra protection of its screen I use the cover from a dive case, secured with a strap – I can still see the image through the clear cover and the front light that shows it’s recording.
6. Cable routing
- One cable goes to the scope camera, one to the DJI. Don’t run the two in the same line.
- I thread a cable through the built-in holder’s bottom hole – the other hole is for attaching a sling, so I don’t want to block it.
- Route both cables forward. Mine were too long, so I wrapped the excess around the riser and the holder.
- Secure the two cables with zip ties, fine-tune the scope cam cable, then trim everything that sticks out.
7. Weapon light
To complete the rifle I add a WADSN M300 flashlight – essential for bunkers and dark CQB rooms.
Is it worth the weight?
- Pros: scope view and face cam from one rifle, hours of recording from external power, everything quick-release.
- Cons: about 1.7 kg extra; visible cables need careful routing so they don’t snag.
Want to know which camera settings I use? Ask in the comments under the video – and see the full list of camera and field tech in my loadout.
Gear in this article
RunCam Scope Cam 2 4K
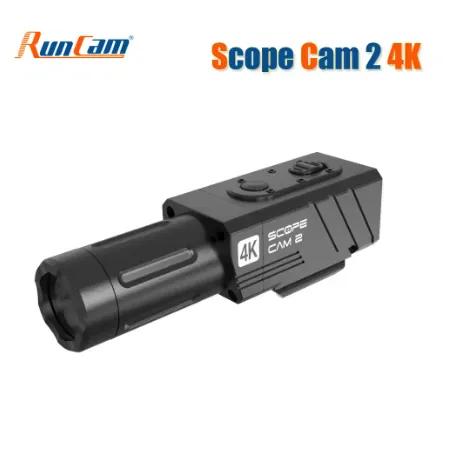
My go-to scope camera: aluminium IP64 body, built-in 20 mm rail mount, 4K30 or 2.7K60 (I recommend 2.7K60). Best value for quality I found, and the camera most of my gameplay is filmed with.
Read my review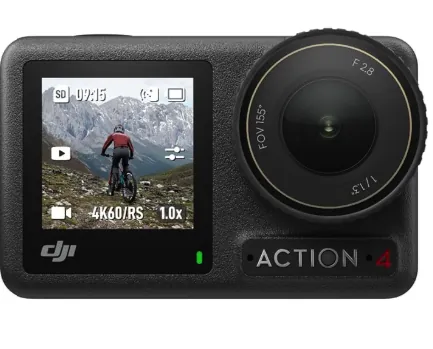
DJI Osmo Action 4
My rifle "selfie" camera, facing back at me (about 117 g with the mount). The magnetic quick release makes it a one-click install, and a dive-case cover protects the screen from BBs.
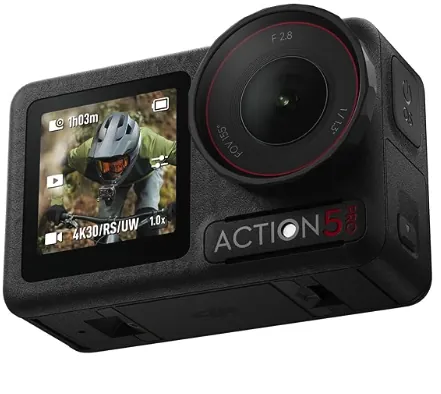
DJI Osmo Action 5 Pro
Upgrade pick for helmet POV: stronger low-light performance and stabilisation than the Action 4, and the same quick-release mounts.
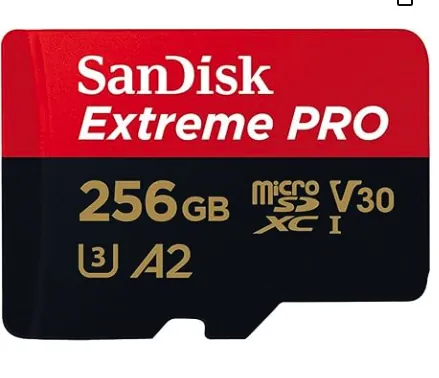
SanDisk Extreme PRO microSD Card
Fast enough for smooth 1080p60 and 4K recording for hours. I use 128 GB in my scope cam – format it to FAT32 for the RunCam.
Read my review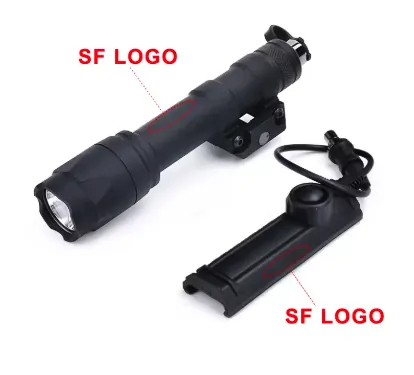
WADSN SF M300 Weapon Light
Replica M300 light (133 g on my rifle) for bunkers and dark CQB rooms – fields like BoinoPole have dim interiors where a light is essential.
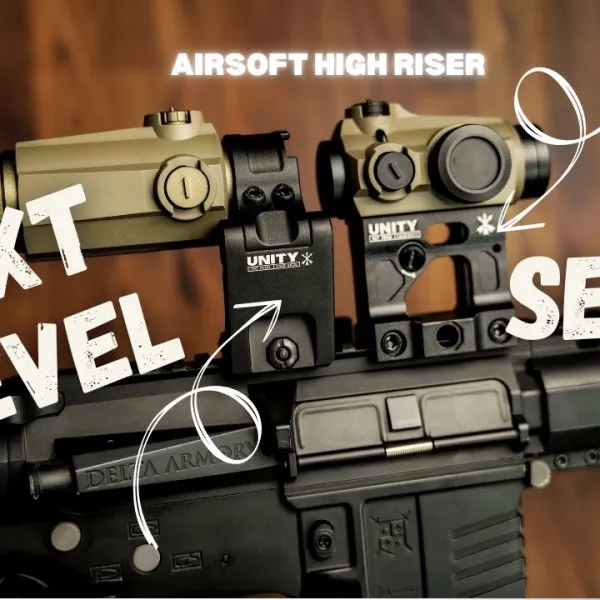
Unity-Style FAST Riser Mounts (Red Dot + Magnifier)
Finally a riser that is high enough: about 40 mm tall, so I get a heads-up position with helmet, mask and goggles on. The matched set keeps the red dot and magnifier perfectly aligned. Two solid pieces of metal at a budget price.
Read my review
Airsoft player, YouTuber, photographer & software developer. I film my games and gear tests for the GFA Airsoft YouTube channel and write about the gear and lessons that make a difference on the field.